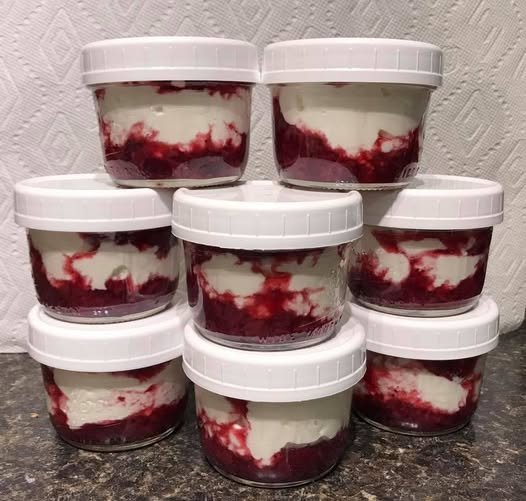
If you are looking for an absolute showstopper that uses a shortcut cake box mix, this Red Velvet White Chocolate Dream Poke Cake is incredible.
It takes a standard red velvet box mix, turns it into an ultra-moist poke cake, fills it with a rich, silky sweet white chocolate cream, and tops it with a cloud of whipped topping and cream cheese frosting. It hits every single note: rich cocoa, tangy red velvet, and sweet, creamy white chocolate.
Here is how to make it!
Ingredients
-
The Cake Base:
-
1 box (approx. 15.25 oz) Red Velvet cake mix
-
Water, eggs, and vegetable oil (called for on the back of your specific cake mix box)
-
-
The White Chocolate Filling:
-
1 cup white chocolate chips
-
1 can (14 oz) sweetened condensed milk
-
-
The Creamy Topping:
-
1 tub (8 oz) whipped topping (like Cool Whip), thawed
-
Alternative/Upgrade: 1 to 2 cups of a whipped white chocolate pudding frosting (made by whisking 1 box of instant white chocolate pudding mix with 1 cup of cold milk and folding in 1 tub of Cool Whip).
-
-
The Garnish:
-
A handful of mini white chocolate chips or shaved white chocolate curls
-
Optional: A few reserved red velvet cake crumbs sprinkled over the top.
-
Instructions
1. Bake the Red Velvet Cake
-
Preheat your oven to 350°F (175°C) (or the temperature listed on your cake mix box).
-
Grease a standard 9×13-inch baking pan with cooking spray.
-
Prepare the red velvet cake batter by mixing the boxed cake mix with the water, eggs, and oil according to the package directions.
-
Pour the batter into your prepared pan and bake for 30 to 35 minutes, or until a toothpick inserted into the center comes out clean.
2. Make the White Chocolate Infusion
-
While the cake is baking, prepare the rich filling. In a microwave-safe bowl, combine the white chocolate chips and the sweetened condensed milk.
-
Microwave in 30-second intervals, stirring thoroughly after each time, until the white chocolate is completely melted and smooth into the condensed milk (be careful not to overheat).
3. Poke the Holes
-
Remove the red velvet cake from the oven and let it cool for about 10 minutes so it’s still warm, but safe to handle.
-
Using the handle of a wooden spoon (or a thick skewer), poke holes all over the top of the cake, spacing them about an inch apart. Make sure to poke down about 3/4 of the way through the cake without hitting the very bottom of the pan.
4. Pour the White Chocolate Dream
-
Slowly pour the warm white chocolate and condensed milk mixture evenly all over the warm cake.
-
Use a spatula to gently guide the rich sauce so it fills up every single hole.
5. Chill to Set
-
Allow the cake to cool completely at room temperature, then place it in the refrigerator for at least 30 to 60 minutes to let the white chocolate filling soak deep into the crumb and firm up.
6. Top and Garnish
-
Spread your thawed whipped topping (or your whipped white chocolate pudding frosting) in an even, fluffy cloud layer over the chilled cake.
-
Sprinkle mini white chocolate chips, white chocolate curls, or a few reserved red velvet cake crumbs over the top for a bakery-style finish.
7. Serve
-
Keep the cake stored in the refrigerator until ready to slice and serve. Each bite is ultra-moist, sweet, and dreamy!
Pro-Tips for Success
-
Don’t Let the Chocolate Seize: When melting the white chocolate chips with the condensed milk, keep the microwave intervals short (30 seconds max) and stir well. White chocolate can scorch easily if overheated.
-
The Warm-Cake Rule: Pouring the white chocolate sauce over a warm (not piping hot, but warm) cake allows the crumb to drink up every drop of that sweet, velvety flavor much faster!
