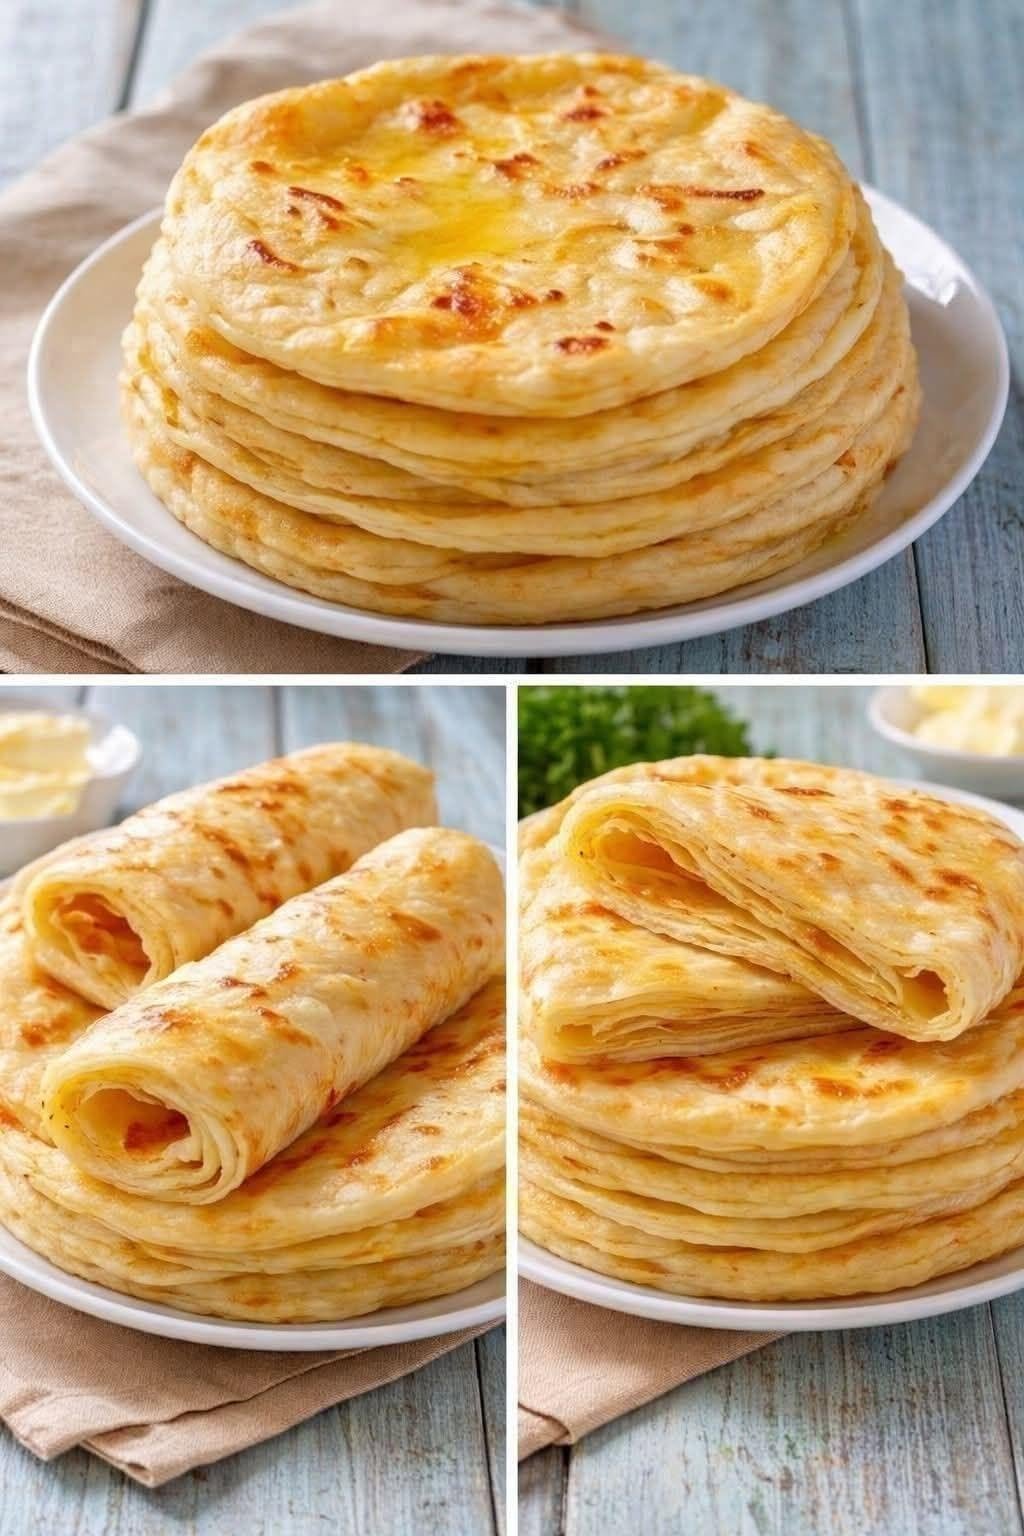
Unlike dense sandwich loaves or crusty French baguettes, Turkish flatbread relies on a high-hydration dough, an olive-oil-and-yogurt wash (known as sürme), and a distinct finger-press technique that creates fluffy pockets designed to trap melted butter, olive oil, and savory dips.
This comprehensive, step-by-step masterclass will guide you through the history, chemistry, ingredient selection, and exact physical techniques required to bake an authentic, bakery-quality Turkish loaf right in your own kitchen.
The Cultural Heritage and Science of Turkish Bread
Turkish bread, particularly the seasonal staple Ramazan Pidesi, holds a revered place in culinary history. Historically baked exclusively during the holy month of Ramadan, its popularity has endured year-round due to its unique textural profile.
-
The High-Hydration Matrix: Traditional Turkish flatbread dough is noticeably wetter and stickier than standard bread dough. This high water content turns into internal steam during baking, expanding the gluten pockets and creating a cloud-like, open crumb structure inside.
-
The Secret Wash (Sürme): Instead of using a standard egg wash or plain water, traditional Turkish bread is brushed with a cooked slurry of flour, water, and yogurt (or milk). This magical concoction caramelizes under high heat, giving the crust its characteristic glossy sheen, blistered spots, and tender bite.
-
The Sesame and Nigella Seed Finish: No traditional Turkish loaf is complete without a generous dusting of toasted sesame seeds and aromatic nigella seeds ( çörek otu), which provide a subtle earthy crunch that contrasts with the soft crumb.
Equipment Needed
-
Large mixing bowl and sturdy wooden spoon or Danish dough whisk
-
Kitchen scale (strongly recommended for precise hydration ratios)
-
Baking stone or heavy-duty baking sheet
-
Parchment paper
-
Small saucepan for making the sürme glaze brush mixture
-
Pastry brush
Ingredient Breakdown
1. The Bread Dough
-
4 cups (500g) Unbleached bread flour: High protein content is essential to support the high hydration and create strong gluten strands.
-
1 tablespoon (7g) Instant active dry yeast: Provides reliable, steady fermentation.
-
1 ½ teaspoons Fine sea salt: Strengthens the gluten network and seasons the dough.
-
1 teaspoon Granulated white sugar: Feeds the yeast to jumpstart activity.
-
1 ½ cups (350ml) Lukewarm water: The primary hydrating liquid.
-
2 tablespoons Extra-virgin olive oil: Injected into the dough to add richness, softness, and a subtle fruity aroma.
2. The Traditional Glaze (Sürme)
-
2 tablespoons All-purpose flour: The thickening agent for the glaze.
-
⅓ cup Water: Combined with the flour and cooked briefly.
-
2 tablespoons Plain whole-milk yogurt or milk: Adds fat and proteins that promote gorgeous golden browning.
-
1 tablespoon Olive oil: Enhances glossiness.
3. The Toppings
-
2 tablespoons Sesame seeds: Toasted for a nutty crunch.
-
1 tablespoon Nigella seeds (Çörek otu): Adds a distinct, pepper-onion nuance characteristic of authentic Middle Eastern baking.
Step-by-Step Preparation Guide
Phase 1: Mixing and Hydration
-
Activate the Yeast: In a large mixing bowl, combine the lukewarm water, granulated sugar, and instant yeast. Stir gently and let it sit for 5 to 7 minutes until a light, foamy layer forms on the surface, confirming your yeast is active and healthy.
-
Incorporate Olive Oil: Pour the 2 tablespoons of extra-virgin olive oil directly into the foamy yeast mixture.
-
Combine Dry Ingredients: In a separate medium bowl, whisk together the unbleached bread flour and fine sea salt.
-
Form the Shaggy Dough: Gradually add the dry flour mixture into the liquid ingredients. Using a wooden spoon or silicone spatula, stir until a sticky, wet, shaggy dough forms. Do not panic if the dough feels too wet; high hydration is the secret to soft Turkish bread.
-
Kneading: Turn the sticky dough out onto a lightly floured surface (or keep it in the bowl if using a stand mixer fitted with a dough hook). Knead for 10 to 12 minutes by hand, stretching and folding the dough until it transitions from sticky to smooth, elastic, and slightly tacky. Form it into a tight ball.
Phase 2: Bulk Fermentation
-
Oil the Bowl: Clean your mixing bowl, coat the interior lightly with olive oil, and place your dough ball inside, turning it once to coat the top.
-
First Rise: Cover the bowl tightly with plastic wrap or a damp kitchen towel. Place it in a warm, draft-free spot for 1.5 to 2 hours, or until the dough has doubled significantly in size.
-
Gentle Deflation: Once risen, gently deflate the dough with your fingertips to release excess carbon dioxide gas, preserving the delicate gluten structure.
Phase 3: Shaping and The Traditional Pattern
-
Transfer to Parchment: Turn the dough out onto a piece of parchment paper dusted lightly with flour or semolina.
-
Forming the Round Loaf: Using your fingertips, gently press and stretch the dough outward into a flat, even circle or oval measuring roughly 10 to 12 inches in diameter and about ¾-inch thick. Do not use a rolling pin, as this will push all the precious air bubbles out of the dough.
-
Preparing the Glaze (Sürme): In a small saucepan, whisk together the 2 tablespoons of flour and ⅓ cup of water until smooth. Place over low heat, whisking constantly for 1 to 2 minutes until it thickens into a translucent paste (resembling thin paste or starch). Remove from heat and whisk in the 2 tablespoons of yogurt and 1 tablespoon of olive oil.
-
Applying the Glaze: Dip your fingers into the warm sürme glaze. Using your fingertips, press firmly into the surface of the dough to create a classic diamond grid pattern (baklava pattern), pressing all the way down to the parchment without tearing the bottom. Then, trace a deep border line about 1 inch inside the outer edge of the circle.
-
The Toppings: Brush the remaining sürme glaze generously across the entire surface of the loaf, ensuring it pools slightly inside the finger indentations. Sprinkle your toasted sesame seeds and nigella seeds evenly over the top.
-
Second Rise (Proofing): Cover the shaped loaf loosely with a towel and let it rest for 30 to 45 minutes until puffy and light.
Phase 4: High-Heat Baking
-
Oven Preparation: Preheat your oven to 450°F (230°C) at least 45 minutes before baking. If you have a baking stone, place it on the center rack.
-
Loading the Bread: Slide your baking sheet or pizza peel (with the parchment paper holding the bread) directly onto the hot baking stone or oven rack.
-
Baking Schedule: Bake at 450°F for 18 to 22 minutes. The high heat will cause the bread to spring upward, while the glaze caramelizes into a stunning deep golden-brown with blistered golden peaks.
-
Cooling: Transfer the baked Turkish bread immediately to a wire cooling rack. Allow it to cool for at least 20 minutes before tearing into it, allowing the internal starches to set.
Pro-Tips for Culinary Success
-
Serving Traditions: Turkish bread is best enjoyed piping hot, pulled apart by hand rather than sliced with a knife. Serve it alongside a traditional Turkish breakfast (kahvaltı) featuring feta cheese, black olives, sliced tomatoes, cucumbers, and fresh honey with clotted cream (kaymak).
-
Storage Guidelines: This bread is best consumed on the day it is baked. However, you can store leftovers in a paper bag at room temperature for up to 2 days, or wrap individual portions tightly in foil and freeze for up to a month. Reheat in a 350°F oven for 5 minutes to restore its freshly baked crust.
