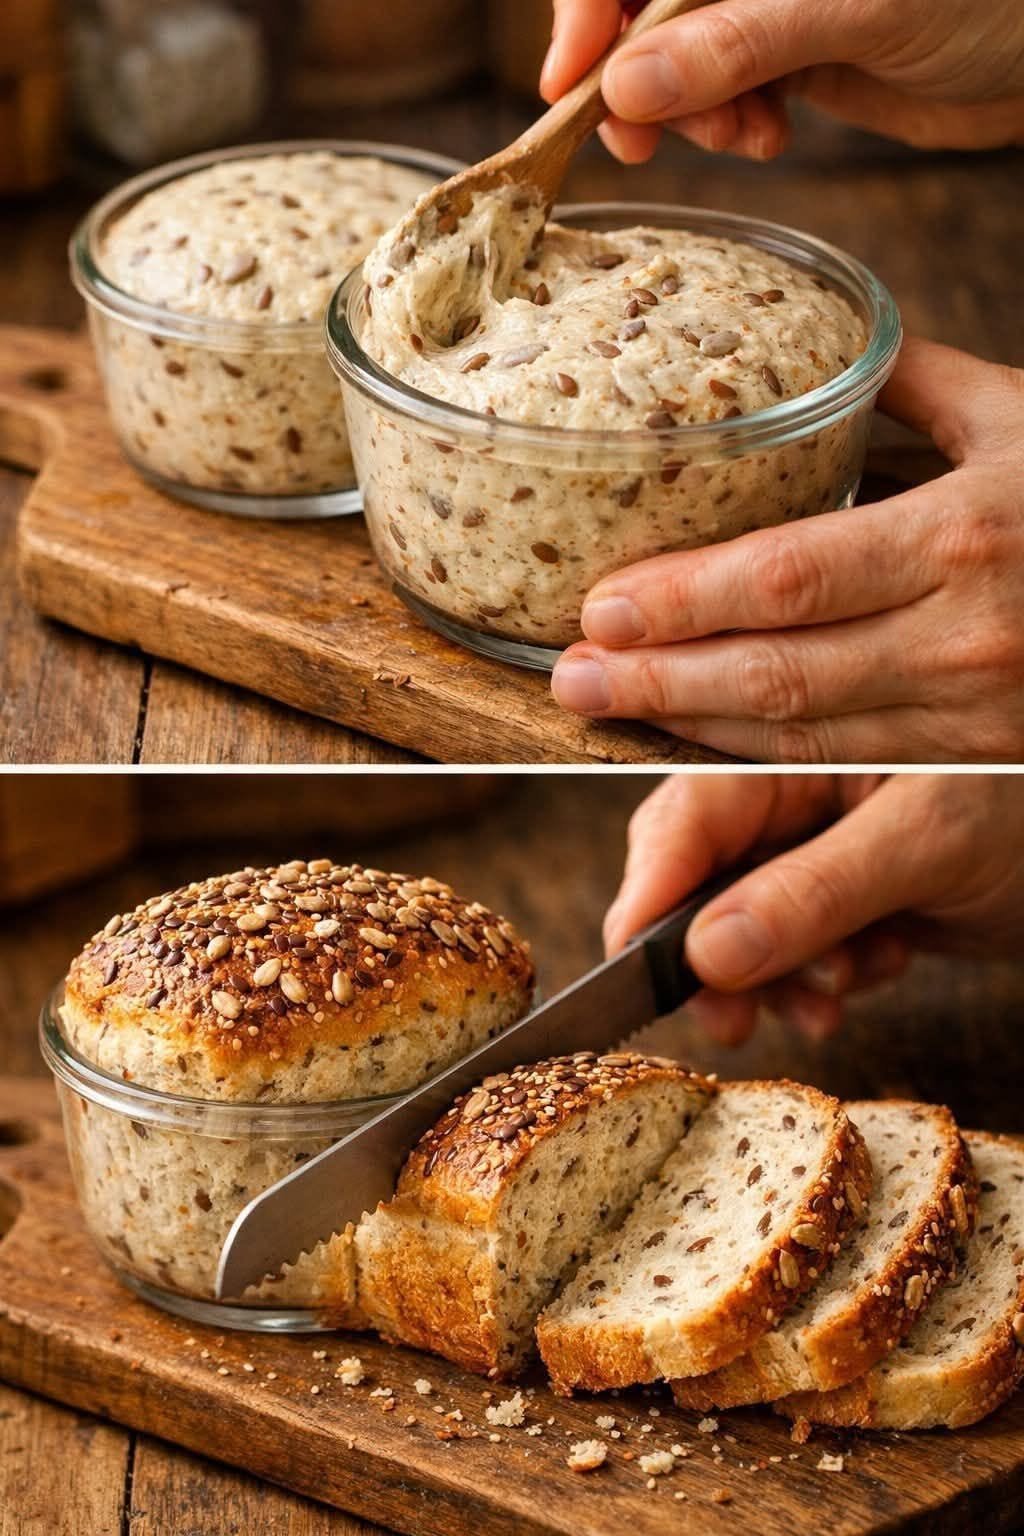
Homemade Seeded Bread
Baking bread at home is one of those timeless, deeply satisfying rituals that transforms a few basic ingredients into something extraordinary. When you add a blend of nutrient-dense seeds, you elevate a simple loaf into a rustic, artisanal masterpiece with a nutty crunch, a tender, chewy crumb, and a deeply flavorful, crackling crust. This comprehensive guide will walk you through crafting the ultimate homemade seeded bread using a hybrid technique of overnight fermentation for maximum flavor, complete with step-by-step instructions, troubleshooting tips, and storage advice.
The Anatomy of a Great Seeded Bread
Before diving into the mixing bowl, it helps to understand how the components work together. Bread baking is a science, but it is also an art of patience.
-
The Flour: A combination of strong bread flour and whole wheat flour provides the ideal balance. Bread flour contains a higher protein content (around 12-14%), which develops strong gluten strands necessary to trap gas and support the heavy weight of the seeds. The touch of whole wheat flour adds an earthy depth of flavor and a slight rustic texture.
-
The Seeds: Seeds are not just tossed in dry; they require a technique called “soaking” or “scalding.” Because seeds are dry and woody, if added straight to dough, they will aggressively absorb the moisture meant for the flour, resulting in a dense, dry, crumbly loaf. Soaking them beforehand plumps them up, allowing them to integrate harmoniously into the dough.
-
The Liquid: Water hydrates the flour to form gluten and activates the yeast. Using lukewarm water ensures the yeast wakes up efficiently without being shocked by extreme temperatures.
-
The Leavening: Active dry yeast or instant yeast provides reliable rise. For an even deeper, sourdough-like tang, this recipe incorporates a long, cold fermentation step in the refrigerator, which also makes the bread much easier to digest.
Ingredients
For the Main Dough:
-
Bread Flour: 450 grams (approx. 3.5 cups)
-
Whole Wheat Flour: 100 grams (approx. 3/4 cup)
-
Instant or Active Dry Yeast: 7 grams (1 standard packet / 2.25 teaspoons)
-
Fine Sea Salt: 12 grams (approx. 2 teaspoons)
-
Honey or Maple Syrup: 15 grams (1 tablespoon) – adds a subtle background sweetness to balance the nutty seeds and feeds the yeast.
-
Lukewarm Water: 380 milliliters (approx. 1.5 cups) – adjusted for optimal hydration.
-
Unsalted Butter or Olive Oil: 20 grams (1 tablespoon) – softens the crust slightly and enriches the crumb.
For the Seed Blend & Soak:
-
Sunflower Seeds: 50 grams (approx. 1/3 cup)
-
Pumpkin Seeds (Pepitas): 40 grams (approx. 1/4 cup)
-
Flaxseeds (Whole or Crushed): 25 grams (2 tablespoons)
-
Sesame Seeds (White or Black): 20 grams (2 tablespoons)
-
Poppy Seeds or Chia Seeds: 10 grams (1 tablespoon)
-
Boiling Water: 100 milliliters (approx. 1/3 cup) – used exclusively for soaking the seed mix.
Equipment Needed
-
Large mixing bowl
-
Kitchen scale (highly recommended for precision in baking)
-
Measuring spoons and cups
-
Bench scraper
-
Proofing basket (banneton) or a clean kitchen towel-lined bowl dusted with flour
-
Dutch oven (cast iron, minimum 4-quart capacity with lid) or a heavy baking stone with a steaming tray
-
Razor blade or sharp lame for scoring
-
Wire cooling rack
Step-by-Step Instructions
Phase 1: Preparing the Seed Soak (The Night Before or 4 Hours Prior)
-
Combine the seeds: In a heatproof medium bowl, measure out your sunflower seeds, pumpkin seeds, flaxseeds, sesame seeds, and chia/poppy seeds. Stir them together until evenly distributed.
-
Pour the boiling water: Pour the 100 milliliters of boiling water directly over the seed mixture. Stir thoroughly to ensure every seed is submerged and exposed to moisture.
-
Cover and rest: Cover the bowl tightly with plastic wrap or a plate and let it sit at room temperature for at least 4 hours, or ideally overnight in the refrigerator. By the time you are ready to bake, the seeds will have absorbed almost all the water and cooled down completely.
Phase 2: Mixing and Autolyse
-
Whisk dry ingredients: In a large mixing bowl, whisk together the bread flour, whole wheat flour, and instant yeast. (If using active dry yeast, dissolve it in a small portion of your lukewarm water with a pinch of honey for 10 minutes until frothy first).
-
Mix liquids and honey: In a separate container, combine the remaining lukewarm water, honey, and olive oil (or melted butter).
-
Bring the dough together: Pour the liquid mixture into the dry flour mixture. Stir with a spatula or your hands until a shaggy, cohesive dough forms and no dry patches of flour remain.
-
Initial Rest: Cover the bowl with a damp towel or shower cap and let it rest undisturbed for 30 minutes. This process, known as autolyse, allows the flour to fully hydrate and kickstarts natural gluten development without strenuous kneading.
Phase 3: Incorporating Salt and the Seed Soak
-
Add the salt: Sprinkle the 12 grams of fine sea salt evenly over the surface of the dough, drizzling a teaspoon of water over it to help it dissolve. Dimple and pinch the salt into the dough with your fingers.
-
Incorporate the soaked seeds: Dump your cooled, soaked seed mixture (along with any remaining moisture in the bowl) directly onto the dough.
-
Work it in: Using your hands, fold the edges of the dough over the seeds, squeezing and kneading gently for about 3 to 5 minutes. The dough will initially feel slippery and fall apart as the seeds try to escape—this is completely normal! Keep folding and pressing until the seeds are evenly distributed throughout the mass of the dough.
Phase 4: Bulk Fermentation (First Rise)
-
Fold and stretch: For the first hour of bulk fermentation, perform three sets of “stretch and folds” spaced 20 minutes apart. To do this, grab the underside of the dough, stretch it upwards, and fold it over the top. Rotate the bowl 90 degrees and repeat four times per set. This builds structural strength.
-
Let it rise: Cover the bowl tightly and let it ferment at room temperature (about 21°C to 23°C) for 3 to 4 hours, until it has increased in volume by about 50% to 75% and shows a few bubbles on the surface.
-
Cold retard (Optional but recommended): For maximum flavor development, place the covered bowl in the refrigerator for 12 to 24 hours.
Phase 5: Shaping the Loaf
-
Pre-shape: Turn the fermented dough out onto a lightly floured work surface. Round the dough gently into a loose ball using your bench scraper. Let it rest uncovered on the counter for 20 minutes (bench rest) to relax the gluten.
-
Final shape: Flip the dough ball over so the smooth side faces down. Gently press it into a rough rectangle. Fold the top edge toward the middle, bring the bottom edge up over it, and roll it tightly into a cylinder or pull it into a taut round ball, depending on whether you are using a loaf pan or a round banneton.
-
Proofing: Dust your proofing basket (or a clean kitchen towel placed inside a colander) generously with a 50/50 mix of rice flour and all-purpose flour. Place the shaped dough seam-side up into the basket. Cover and let rise at room temperature for 1.5 to 2 hours (or overnight in the fridge if you prefer a cold proof).
Phase 6: Baking with Steam
-
Preheat your vessel: Place your heavy Dutch oven (with the lid on) inside your oven and preheat the oven to 230°C for at least 45 minutes to 1 hour. A scorching hot vessel is critical for achieving a magnificent oven spring.
-
Invert and score: Carefully turn the proofed dough out of the basket onto a sheet of parchment paper. Using a sharp razor blade (lame) or a very sharp knife, score the top of the loaf at a 30-degree angle about half an inch deep. This allows the bread to expand cleanly without bursting open at the sides.
-
Bake covered: Using the corners of the parchment paper as a sling, carefully lower the loaf into the preheated Dutch oven. Cover with the lid immediately to trap the steam escaping from the bread. Bake at 230°C for 20 minutes. The steam keeps the crust elastic, allowing maximum expansion.
-
Bake uncovered: Remove the lid of the Dutch oven (carefully release the steam), drop the oven temperature to 210°C, and bake uncovered for another 20 to 25 minutes. The crust will turn a deep, burnished mahogany color, and the seeds on the exterior will toast to fragrant perfection.
-
Cooling: Transfer the hot loaf immediately to a wire cooling rack. Crucial rule: Do not slice into the bread while it is hot! The interior is still undergoing a process called “set-up,” where moisture redistributes. Let it cool completely for at least 2 hours before slicing.
Pro-Tips for Success
-
The Rice Flour Secret: When dusting your proofing baskets, mixing standard flour with rice flour prevents the wet, seed-laden dough from sticking to the fabric. Rice flour contains no gluten, so it acts like tiny ball bearings.
-
Customizing Your Seeds: Feel free to swap out proportions based on what is in your pantry. Rolled oats, cracked wheat, or hemp hearts can also be incorporated into the soak for unique textures.
-
Storage: Keep your homemade seeded bread wrapped tightly in a linen bag or a paper bag at room temperature for up to 3 days. For longer storage, slice the loaf completely once cooled, place parchment paper between the slices, freeze them in a sealed bag, and toast individual slices straight from the freezer.
